


")


You can make a GAMERBOARD yourself.
If you want to make a Gamerboard WITHOUT a magnetic base, it's easy. Get a sturdy folding frame, for example on Amazon)A, and get the matching grids and background posters in our shop.
For a complete gameboard you can find instructions here:
(In German and English.)
Time needed
If you are good with tools then the assembling of the board takes appr. 45 minutes, the fabrication of the transparent sheets with grids appr. 45 minutes and ordering everything at least 2 hours.
Buy snapframe
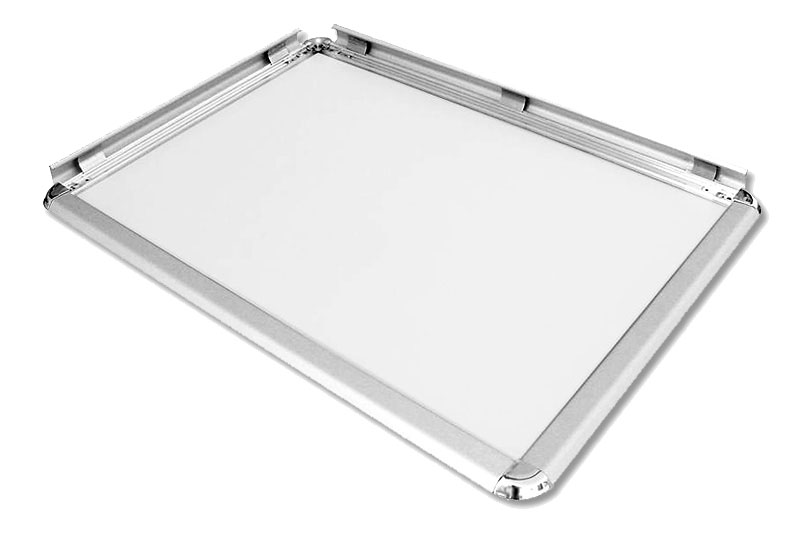
We strongly recommend a 32 mm broad frame. Only a strong frame gives the board the necessary stability, for example if you pass it around. The spring in a broad frame last longer. A thin frame has turned out to be too weak for permanent use.
Buy whiteboard sheet
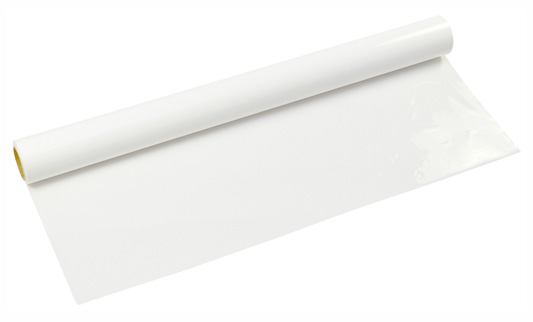
If the broad has an uncoated iron back, you need a whiteboard sheet to cover it.
Buy magnetic sheet
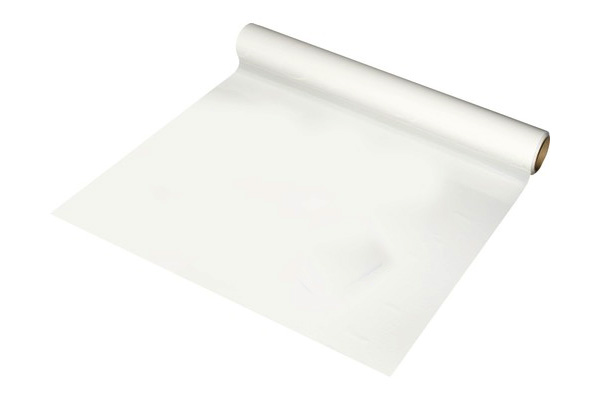
You need a magnetic sheet if the back of the frame is made of plastic. It should have a white cover and should be at least 0,6 mm strong. Otherwise the attraction between magnets and board will be too weak.
Buy transparent grid sheets A3
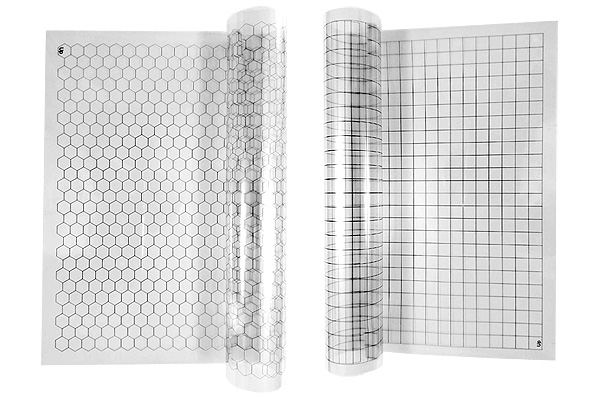
We recommend sheets for overhead projectors in a good quality with sufficient material thickness. You will have to draw the grid yourself or find one on the internet. And you need an A3-printer.
For printing the grids in A2 or A1 you will need a print shop. You will have to draw the grid yourself or find one on the internet.
Buy self-adhesive felt
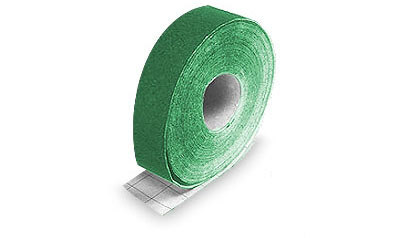
The felt must be thin. Otherwise the back of the board will sag in the middle.
Buy whiteboard markers
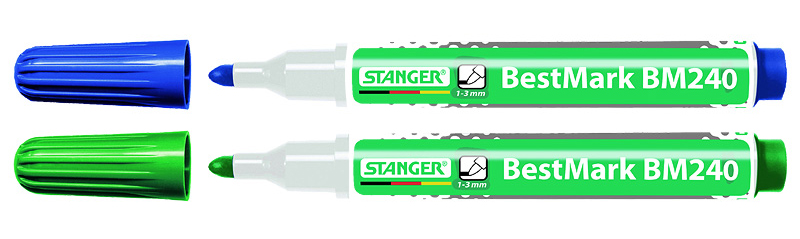
Non-permanent markers for transparency film will do too. They draw thinner lines.
Similars on Amazon)A
Buy other magnets
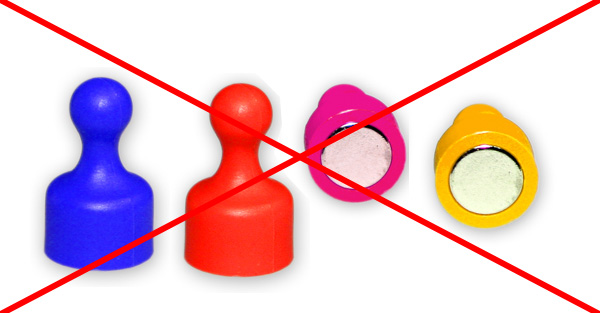
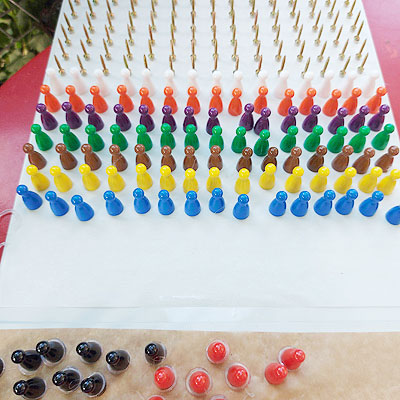
If the magnets in the pawns are too broad, they tend to push each other apart or they attract each other, so you cannot place the pawns close to each other.
The magnet-pawns shown above are nice, but they will always need about 10 mm space because their magnets are too broad.
In a 10 mm broad pawn the magnet should not be wider than 5 or 6 mm.
These magnets can be placed close to each other up to 6 mm.
Buy disc magnets
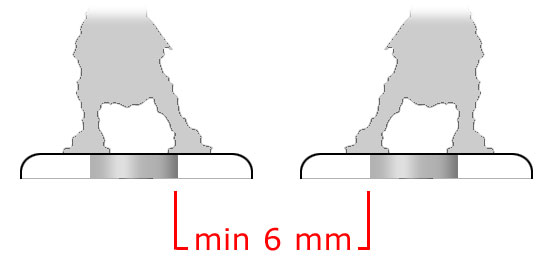
If the magnets under the pawns are too broad, they tend to push each other apart or they attract each other, so you cannot place the pawns close to each other. A 6 mm broad and 2 mm thick magnet should have a safety-distance of 5 or 6 mm to the next magnet.
These magnets can be placed close to each other up to 6 mm.
Make magnetic pawns

You can make the magnetic pawns yourself.
1. Glue a small screw (appr. 3 x 12 mm) to a magnet (6 x 2 mm to 5 x 3 mm) with two-component adhesive. Cover lower outer part of the pawn with a non-sticking liquid. Place the magnet on a non-sticking surface. Best if you fasten it there.
2. Fill half of the pawn with hot-melt adhesive. Please note: If the glue is to hot, the pawn will deform.
3. Press pawn centred on screw and magnet and hold it until the glue is hard.
4. Remove the glue at the sides of the pawn.
 Customer-reviews: For reading and wirting Customer-reviews please see